Thrifty Tuesday: Dallas

Dallas is chock full of truly awesome vintage and thrift stores. However, there is an important distinction between the two:

  • Thrift–Your typical dingy stores where you have to dig a bit to find the good stuff. Prices on clothing will be lower because items are donated and their quality and condition are not tediously inspected.
  • Vintage–Vintage stores are more curated than thrift stores. Items are usually not donated, but rather purchased by the store to be resold. Therefore, prices will be higher. Many vintage shops will even repair and alter clothing.

If you don’t know the difference (or sometimes even if you do), vintage stores can give you sticker shock. But when looking for jewelry, vintage stores can actually be a better bet. Thrift stores tend to hike up jewelry prices, especially if their selection is limited. Most of my favorite and least expensive pieces were from vintage stores. They are more likely to sell “by the bag,” and also more likely to carry trinkets and interesting knick knacks.

On Saturday, I took to the streets of Dallas and visited my favorite of both. Here are the highlights:

First up, I went to Genesis Benefit Thrift Store. If you live in the DFW area and haven’t been there, go. You can find quality suits, like-new designer (actual designer, not just “designer by thrift standards”) wear and jeans that haven’t faded yet. The prices are fantastic as well. I bought three belts–one Ann Taylor, one Express and one vintage–for $1 each. As for jewelry, the prices weren’t so great. A simple tiered chain necklace was marked to $20, and when I questioned the price, the lowest negotiation got me to $12. Most places won’t negotiate though, so I will give them that.

Another of my favorites is Dolly Python. I am completely, hopelessly obsessed with this place. Upon entering, it seems like a crazy, unorganized mess. Look a little closer though, and it starts to make sense. The clothes are wacky and unique, and when you find something that fits it’s magic. This is also my go-to place for bags of jewelry and vintage buttons. This is a vintage store–not a thrift store–so prices will be higher.

Finally, I ventured into a new place. The side of Lula B’s Antique Mall in Deep Ellum labels it as having “cool stuff and cool people.” I would agree. With two floors of clothes, antiques, jewelry, records, rusty collectible beer cans, and pretty much anything else you could imagine, I was hooked. And this is what I dug up:

IMG_7585  IMG_7590

Total cost: $3.

More to come soon–happy thrifting!

DIY: Beginner necklace

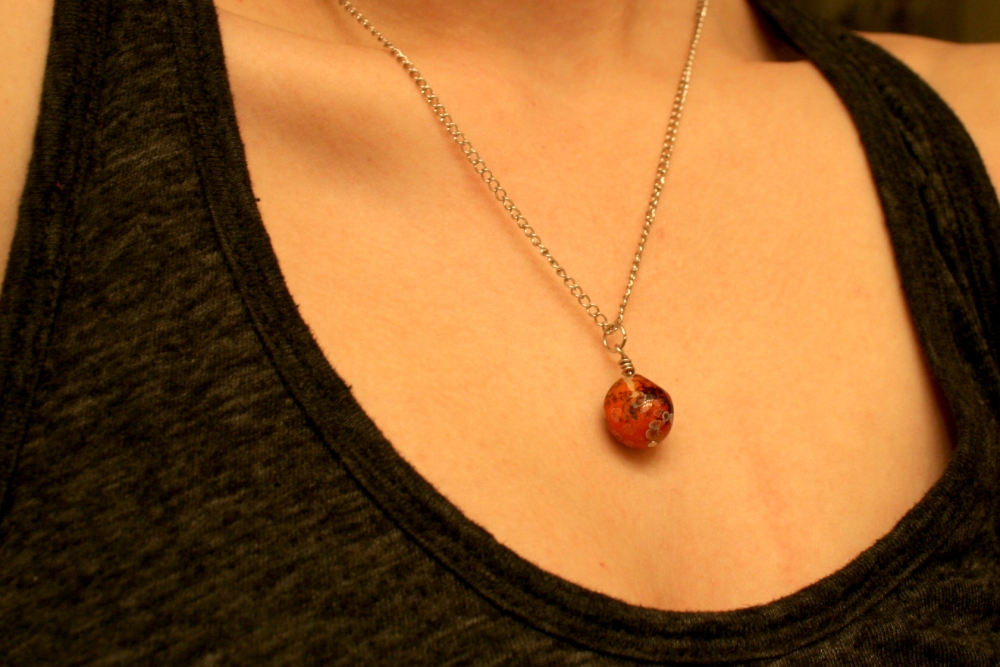
For me, thrift store hunting often results in finding interesting beads. They’re everywhere. In this post, I’m going to show you how to make a basic necklace using chain and a single bead. This is a great project because you can make any bead into a charm and swap them out to match your outfit or mood. This is a very basic, beginner necklace so it might be too easy if you have jewelry making experience. Now for the fun part:IMG_7409

Supplies

  • Interesting bead
  • 3 jump rings
  • 1 head pin
  • Chain, approx. 16″ long
  • Lobster claw or other style clasp
  • Wire cutters, round nose and bent nose pliers

Making the charm

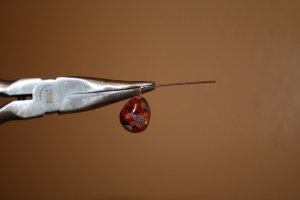
  1. Put the head pin through the bead. Leaving a little space above the bead, use the bent nose pliers to bend the head pin to a 90 degree angle.
  2. With the round nose pliers, pinch the head pin at the bend and loop the pin around it.
  3. Use the bent nose pliers to wrap the end around the space between the bead and the loop. Clip extra wire with your wire cutters.

IMG_7418 IMG_7421 IMG_7425

This is called a wrapped loop. Alternatively, you could make the charm using a simple loop but I like the look of wrapped loops for this necklace.

Chain necklace

  1. Attach a jump ring on one end of your chain, and a jump ring and lobster clasp on the other.
  2. Connect the charm to the chain using a jump ring.
  3. Voila, you’re finished!

IMG_7426 IMG_7431 IMG_7440

DIY Button studs

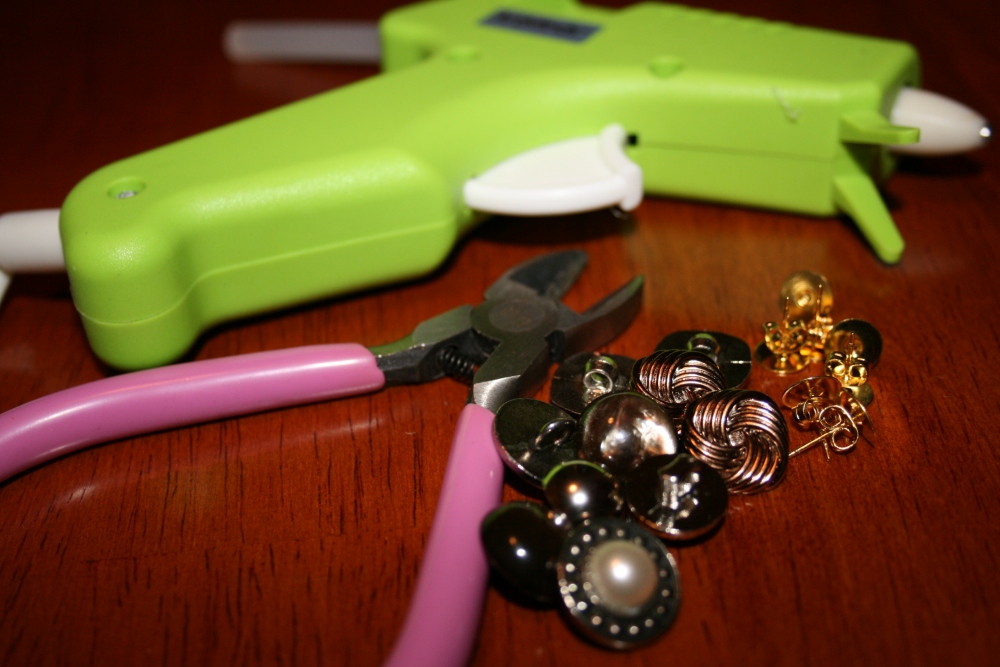
This will be just about the easiest DIY you will ever do, and will take all of five minutes. For my supplies, I used buttons from a bag I bought at a vintage store. I have also used this method to make clip-on earrings into studs. I find clip-ons to be just about the most uncomfortable accessories ever. How did people ever wear clip-ons anyway?  

IMG_7364

Supplies:

Instructions:

Using your handy-dandy wire cutters, clip off the button shanks and try to get the back as flat as possible.

IMG_7367 IMG_7370

Put a dot of glue in the center of the back of the button and press on an earring back. Pick of any excess glue.

IMG_7374 IMG_7376

Done! See, wasn’t that easy?

IMG_7399

Scouring for supplies at thrift stores

Today let’s go on adventure. Not skydiving, no road trip, just a jaunt to the thrift store. As a college student and jewelry maker, the thrift store is my friend and should be yours, too. Say it with me, “The thrift store is my friend.” Walk up to that clear display case with confidence and look critically at its contents. There will be a lot of plain old junk. But if you’re lucky, you’ll find some usable chain, interesting pendants or beads you can reuse. Try not to judge pieces by what they look like now. The point is to rip them apart, after all. Some of my favorite pieces I’ve made have been crafted from old, tacky jewelry.

IMG_7343

This is probably my favorite thing I’ve ever made, and I created it out of an old charm bracelet.

IMG_7347

These earrings are also entirely made from jewelry I found at the thrift store.

IMG_7324

I love old buttons. Mainly because they make for a super easy afternoon project. I have about a million pairs of stud earrings that I made from vintage buttons.

You can save a lot of money finding supplies at the thrift store. And when I say a lot, I mean it. Most vintage or thrift stores sell old jewelry in bags, sometimes for as little as $1. There is literally nothing that cheap in the jewelry aisles of craft stores. Plus, thrift stores are fun. You never know what you’re going to find.